Thursday, May 21, 2015

Showing Livestock-The Industry & The Truth


This blog post is in response to the article by Daily Commercial entitled: 

Countless nights spent in the barn working with our show pigs, are some of the best memories that I've had growing up involved in 4-H and FFA. 
From start to finish, just like in our commercial hog buildings our show pigs are important to my sister and I and are given the proper care. We are sure to give them the proper care by having years of experience in the industry, consulting veterinarians, and swine nutritionists. 

We also care for our pigs individually by having different feed mixes for each pig, making sure they have clean bedding, and by spending the time working with our pigs, taking them on walks (Yes we walk our pigs around the yard!)
Nina Khan, author of this article talks about the disconnect that 4-H and FFA members are forced to develop when showing livestock. I would instead say that there is often a large disconnect with the livestock industry as a whole, and would invite Nina out to our farm to see how much time, money and effort is put into caring for our livestock! 

There is simply no room for error in livestock production or agriculture as a whole. The markets have continued to become tighter year after year, which is why caring for our animals will ALWAYS remain so important! 
Selfies are essential in the barn! The top picture is Lula, and the bottom is Durc, our purebred Duroc pig. 
As any 4-H and FFA member who is involved in the livestock industry will tell you the hardest time of the entire show career is when the season is finished. When my sister and I are spending every night in the barn, as crazy as it sounds, pigs each have their own personalities and connections with our animals are made. Each day walking into the barn we know that one of our pigs Lula is going to be up and excited to see us, as soon as she hears someone in the barn! 

My sister and I have been blessed to be a part of such an amazing industry that has taught us so much. We have learned confidence, responsibility, time management and many other important life skills. We have also met incredible people along the way. (Read more about the people in the industry here.)
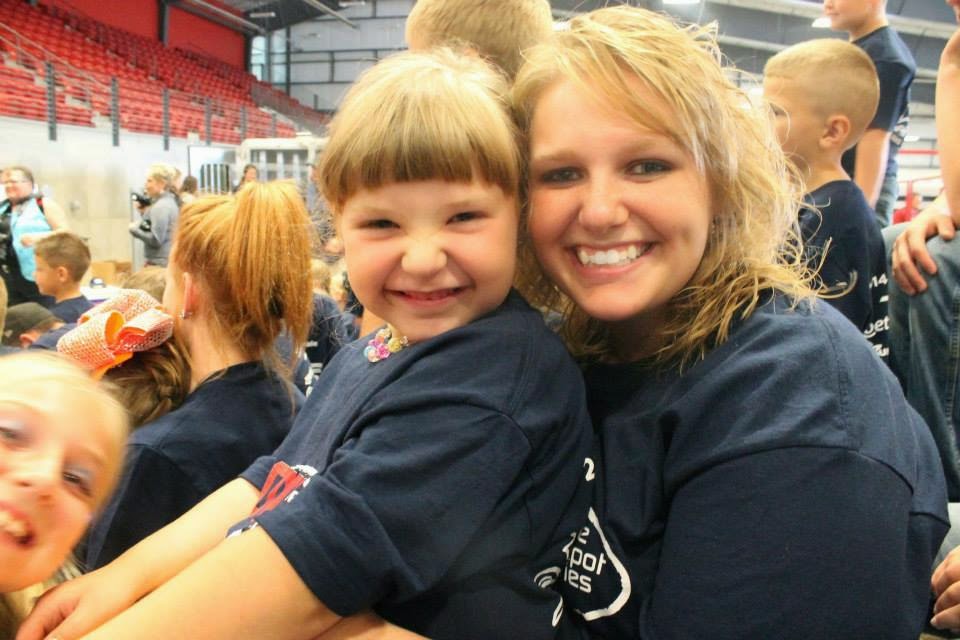
We have met incredible people, and have learned more about the swine industry by showing
I encourage consumers with questions about the livestock industry such as Nina Khan to visit our farm and learn about the livestock show industry. Often times, seeing how we care for our pigs verses reading about how others think pigs are cared for can be a large difference! 

Tuesday, May 19, 2015

DIY: Pallet Headboard Tutorial

Pallet Headboard
I LOVE  the rustic/chic look. Give me the rust, chipping paint, and barn wood!

Pallets, the new DIY craze! Pallets are a great way to make creative projects, on a small budget.

When it came to choosing a headboard, I knew that I wanted something with a rustic look, and went to Pinterest to hopefully find some inspiration! I was shocked to find out that the headboard I wanted sold for $500! How crazy is that! 


So, I decided to put my big girl shoes on, find a pallet, and asked dad where the power tools were! ;) 

Here is my DIY tutorial on how to make your own pallet headboard under $20!

Step 1.) Find a pallet, clean, and let air dry (**If you don't have a pallet laying around your yard, many stores have stacks that you can often ask to take one for FREE!)

Step 2.) Now begins the challenging part, tearing apart the pallet. The easiest way to do this is to take a  jigsaw, or a sawzall and cut each board of the pallet off of the two ends. (**Make sure to keep all parts of the pallet!) 


You will need to do this for both sides of the pallet.  Below is a picture of what your pallet should look like after cutting. 

Step 3.) Pull out your muscles, a hammer and a small crow bar! It's time to rip the boards off of the middle support boards. Try not to split the boards when taking them off the middle supports, but if you do split a few it only adds character! 

Step 4.) Once you have your boards off the pallet, you will need to pound the nails out of the boards. I recommend keeping these nails for later use! 
Step 5.) Stain. When choosing which color to stain your pallet boards, remember that the stain will be much darker than it appears on other woods, because pallets are a rough wood, and soak the stain in fast! (**I choose Early American, it is a darker stain, but a very rich color!)
Stain each board, and let dry overnight. 
Step 6.) After the stain has sat over night, begin laying the boards on the ground how you like them. It's like a giant puzzle piece trying to figure out where each board fits the best! (**I wanted to make my headboard look more like a barn door, so I also added one board going vertically.) 
 
Sizes: My headboard is for a full sized bed, but here are other headboard sizes!

Twin: 41" wide
Full:  56" wide
Queen: 62" wide
King: 80" wide

Step 7.) Nailing. If you choose to put a board in the front like I did begin nailing the top board to the rest of the boards running horizontal. I recommend nailing four nails in each board. I used a nail gun, and it saved a TON of time! 

One the front board is nailed onto the horizontal boards, you will need to flip the head board over, and put 3-5 additional support boards on the back of the headboard. Add support boards until entire headboard feels sturdy when lifted. 
Here are my support boards. They don't have to be perfect or pretty, because no one will
ever see them!


Step 8.) Now it's time to add the headboard legs. For the legs, use the end pieces that you cut off from the pallet.
Take all of the nails out of the sides, leaving no extra wood on the main piece.

Step 9.) Attaching the headboard legs. You will attach the legs to the headboard. I recommend using screws, so that they can be easily adjusted if needed! I used black screws and they blended in well. Every headboard height should be the same, but just in case! The height should be 49 3/4" high.


Here is my finished pallet headboard! You can add barn hinges if you want! Or even some burlap or twine! Make it your own! 

Throughout this project I learned three things:
1.) I better marry a man who knows how to run power tools..because I struggled!
2.) I can do things by myself if I set myself to it!
3.) DIY is fun, challenging, and rewarding all at once.

Monday, May 11, 2015

DIY: How to Revamp An Old Dresser For Under $10!

This is a dresser I bought for $20, and wanted to give it a new look while on a college budget. 
I found some awesome handles at Hobby Lobby, and replaced them in place of the old. The handles were only $10, and gave the dresser a whole new look! 

Sometimes even the smallest DIY projects can make a huge difference!


Sunday, May 3, 2015

Makin' Me Crazy: Bacon Mac & Cheese!

Bacon and Mac & Cheese!? 
What in the world could be better than that! I love this dish, it is a great addition to any pot luck. 


Makes: 16 servings 
Total Time: Prep: 35 min Bake: 40 min

Ingredients: 
6 cups uncooked elbow macaroni
1 pound bacon strips, diced
3 cups milk
2 cups pepper jack cheese (Shredded)
1 cup colby jack cheese (Shredded) 
8 ounces Velveeta (cubed) 
1 cup cheddar cheese (Shredded) 
1 onion, chopped
1/3 cup bread crumbs
Salt & Pepper to taste

**Note: I prefer to use block cheese, and shred the cheese myself. It seems to melt better than pre-shredded cheese. 
Directions: 
1.) Set oven to 400. Cover baking sheet with aluminum foil, and place bacon on covered sheet. Cook bacon in the oven for 10 minutes. 
2.) Cook macaroni noodles according to package directions. Dain and set aside. 

3.) In a sauce pan begin to boil milk. Add cheeses to pan, cook and stir until well blended.
4.) Stir in chopped onion and salt and pepper.
5.) Place noodles in a greased 13-in by 9-in baking dish. Poor cheese and milk and cheese mixture over noodles, making sure to coat all noodles. 

6.) Place chopped bacon over noodles, top with bread crumbs and left over cheese. 
7.) Cover and bake at 350 for 30 minutes. Uncover and bake 10-15 minutes longer, or until cheese is melted. 

Enjoy! 

Saturday, May 2, 2015

Home

Home is where the heart is. 
Where passions begin, love is never ending, mistakes are accepted and memories are made.